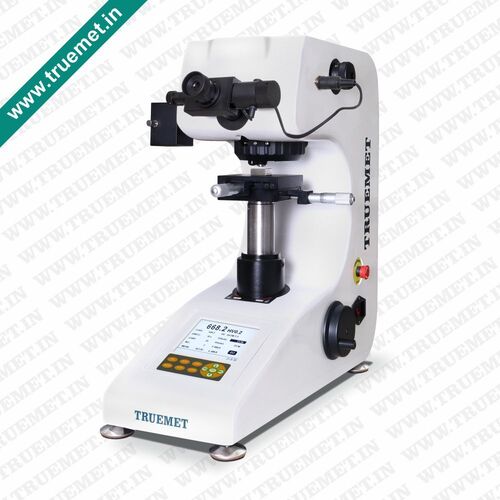
Computerized Digital Touch Screen Micro Vickers Hardness Tester (HT-1000ADT with Vidas 2.0)
Computerized Digital Touch Screen Micro Vickers Hardness Tester (HT-1000ADT with Vidas 2.0) Specification
- Humidity
- ≤ 65% RH
- Specimen Size
- Max. 80 mm width, thickness up to 25 mm
- Power Supply
- AC220V±5% 50-60Hz
- Mounting Type
- Benchtop
- Operating Voltage
- 220V AC
- Interface Type
- USB, RS232
- Max Height
- 100 mm (Specimen accommodation)
- Number of Specimens
- Multipoint programmable
- Dimension (L*W*H)
- 530X200X530 Millimeter (mm)
- Measuring Range
- 1gf – 1000gf
- Port Size
- Standard USB
- Response Time
- <1 second
- Test Range
- HV 1 – HV 1000
- Application
- Micro hardness testing of metals, ceramics, glass & materials
- Display Type
- 7 digital touch LCD screen
- Automation Grade
- Automatic
- Features
- Computerized operation, automatic calculation, data storage, image analysis
- Temperature
- 10°C – 40°C
- Equipment Type
- Micro Vickers Hardness Tester
- Accuracy
- ±1%
- Hardness
- HV 1 - HV 1000
- Frequency
- 50-60 Hz
- Resolution
- 0.01 HV
- Usage
- Laboratory, Quality Control, Industry
- Capacity
- Applicable to metals and microstructures
- Machine Weight
- 35 Kilograms (kg)
- Test Speed
- Auto 1 step/s – 100 steps/s
- Test Width
- Up to 80 mm
- Test Stroke
- 0 – 25 mm
- Control Mode
- Touch screen digital control
Computerized Digital Touch Screen Micro Vickers Hardness Tester (HT-1000ADT with Vidas 2.0) Trade Information
- Minimum Order Quantity
- 1 Number
- Supply Ability
- 1 Number Per Day
- Delivery Time
- 1 Week
- Main Domestic Market
- All India
About Computerized Digital Touch Screen Micro Vickers Hardness Tester (HT-1000ADT with Vidas 2.0)
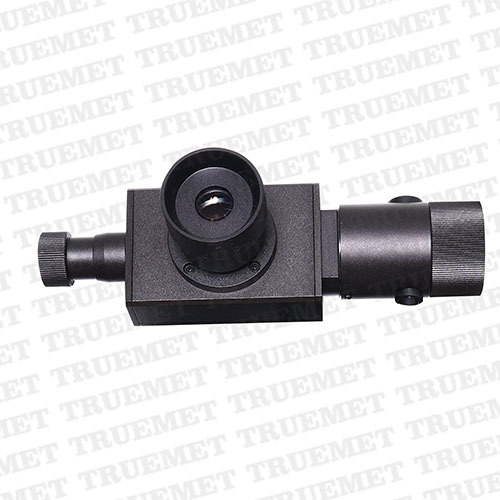
FeaturesDIGITAL EYEPIECE :Equipped with 10x Digital Eyepiece to directly measure the length of the diagonal. The hardness value can be displayed directly and there is no need to enter the length of the diagonal.
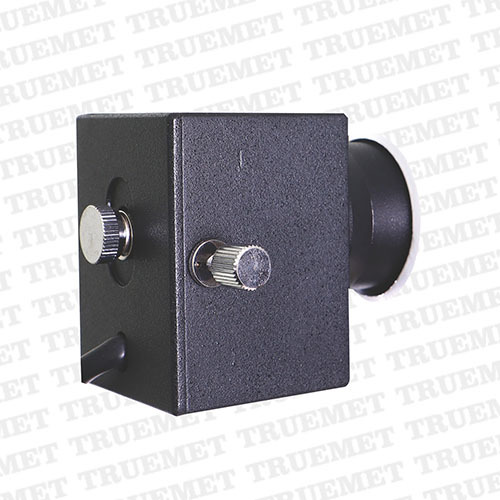
CAMERA PORT :Machine equipped with dual optical channel. 5 MP USB Camera is connected to one of the dual optical channels, other optical channel is for 10X eyepiece. Both optical channel works simultaneously.
ILLUMINATION SYSTEM :Halogen illumination unit with adjustable intensity gives very clear images and can be also used as a simple microscope. Halogen illumination unit enter stand by mode after a certain period of inactivity which gives it a long service life and low power consumption.
TEST FORCE :Wide range of test force (10gm to 1000gm) can be selected with external force selection knob. The test force is automatically displayed on the 7 inch LCD touch display.
DATA OUTPUT :Equipped with built-in thermal printer to take the print out the hardness result USB port is also available to get the data in pendrive.
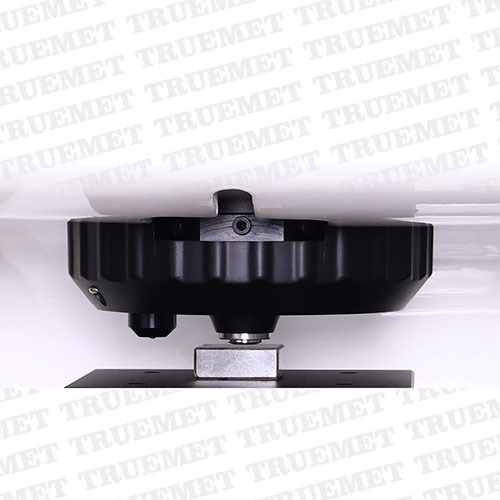
AUTO TURRET MECHANISM :Equipped with auto turret mechanism. Auto turret perform a series of operation and measuring lens automatically comes back to central position after making indentation. The position of the indenter and the objective lens can be automatically switched using touch panel.
Z-AXIS LIFTING SYSTEM :Side-Ways lifting system makes the z-axis movement more stable and accurate.
LCD TOUCH SCREEN PANEL :7 Inch LCD touch screen can visually display the hardness value, hardness conversion (4 conversion scales can be displayed at the same time), test force, dwell time, statistical data, upper & lower limit and brightness of optical system.
EMERGENCY SWITCH :Equipped with emergency stop switch.
Advanced Touch Screen Precision
HT-1000ADT offers seamless touch-controlled operation using a vivid 7-inch LCD screen. Its intuitive interface enhances user experience and shortens the learning curve, allowing precise test configuration for specimens up to 80 mm wide and 25 mm thick. Automated motorized loading and programmable multi-point measurement deliver reliable, reproducible results with every test.
Integrated Image Analysis and Data Management
A high-resolution camera and Vidas 2.0 image analysis software automate and simplify indentation measurement. The system stores both data and images internally, with outputs in CSV, JPEG, and PDF formats. Effortlessly transfer your hardness measurements via standard USB or RS232 ports for efficient documentation and analysis.
Versatility and Reliable Performance
Designed for metals, ceramics, glass, and microstructures, this tester offers a broad measuring range from HV 1 to HV 1000 with 1% accuracy. The LED light source and high-precision optics ensure clear imaging, while robust compliance with international standards makes it ideal for laboratories, industry, and quality control workflows.
FAQs of Computerized Digital Touch Screen Micro Vickers Hardness Tester (HT-1000ADT with Vidas 2.0):
Q: How does the HT-1000ADT Micro Vickers Hardness Tester measure indentation accurately?
A: The HT-1000ADT utilizes a high-resolution digital camera, combined with Vidas 2.0 image analysis software, to automatically capture and analyze indentation images. Its motorized Z-axis focusing and high-precision optics (10x & 40x magnification) provide clear visualization, ensuring precise indentation measurement across metals and microstructures.Q: What types of materials can be tested with this hardness tester?
A: This equipment is capable of testing metals, ceramics, glass, and various microstructures. Its broad test range (HV 1 HV 1000) makes it suitable for laboratory research, quality control, and industrial applications requiring accurate micro hardness measurements.Q: When should I use the automated multi-point measurement feature?
A: Automated multi-point measurement is ideal when you need to characterize material hardness across several locations on the same specimen, or when consistent, repeatable data from multiple specimens is required. This feature increases testing efficiency and assures comprehensive material analysis.Q: Where can I use the HT-1000ADT Micro Vickers Hardness Tester?
A: This tester is designed for use in laboratories, quality control departments, and industrial settings. Its benchtop mounting, standard USB/RS232 interfaces, and compliance with ISO 6507 and ASTM E384 standards make it suitable for various environments focused on materials analysis.Q: What is the process for exporting test data and images from the device?
A: Test data and images are stored internally on the device and can be exported in CSV, JPEG, or PDF formats. Use the built-in USB or RS232 interface to transfer files to external computers for further analysis, reporting, or archiving.Q: How does computerized operation benefit users of this hardness tester?
A: Computerized operation automates indentation measurement, hardness calculation, and data storage, significantly reducing operator error. The touch screen digital control accelerates workflow and ensures accuracy, while programmable multi-point measurement streamlines repetitive testing tasks.Q: What quality standards does HT-1000ADT comply with?
A: The HT-1000ADT Micro Vickers Hardness Tester complies with ISO 6507 and ASTM E384 standards. These standards ensure reliable and internationally recognized measurement procedures for micro hardness testing.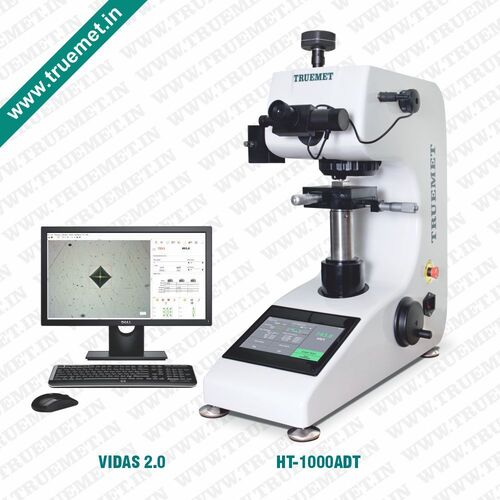
More Products in Micro Vicker Hardness Tester Category
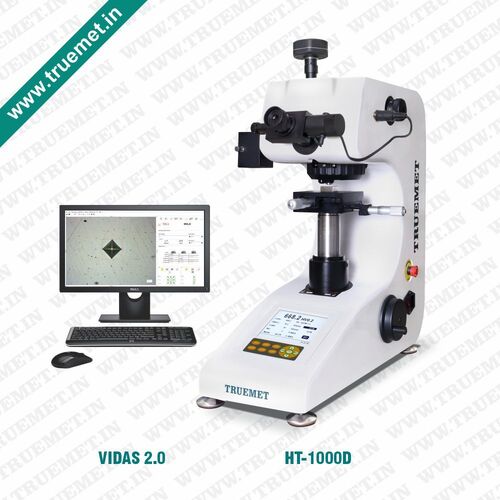
Computerized Digital Micro Vickers Hardness Tester (HT-1000D with Vidas 2.0)
Minimum Order Quantity : 1 Number
Machine Weight : 35 Kilograms (kg)
Application : Microhardness testing for metals, alloys, ceramics, and composites
Control Mode : Computerized Digital Control with Vidas 2.0 Software
Specimen Size : Up to 100 mm thickness
Humidity : <90% RH
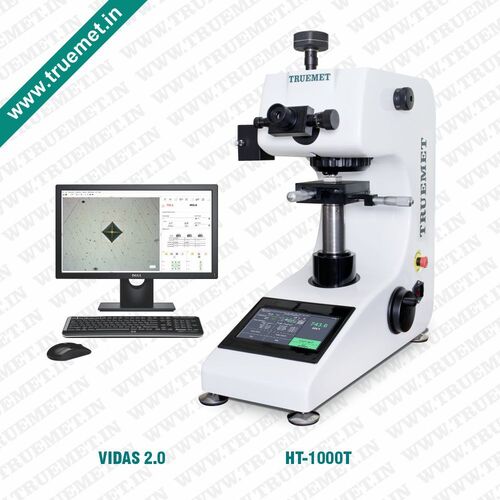
Computerized Touch Screen Micro Vickers Hardness Tester (HT-1000T with Vidas 2.0)
Minimum Order Quantity : 1 Number
Machine Weight : 35 Kilograms (kg)
Application : Measurement of micro hardness on metals, alloys, coatings, ceramics
Control Mode : Touch Screen Interface (VIDAS 2.0 Software Control)
Specimen Size : 10 mm to 100 mm
Humidity : ≤90%
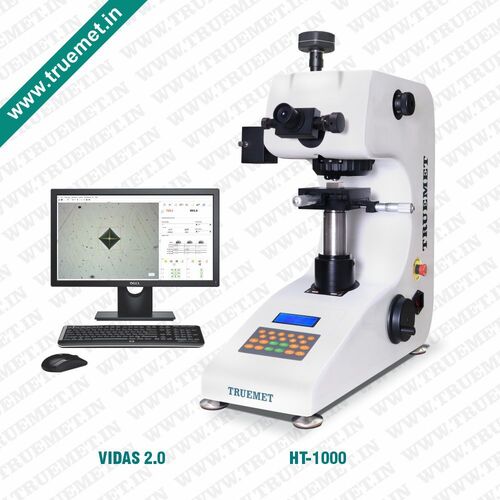
Computerized Micro Vickers Hardness Tester (HT-1000 with VIDAS 2.0)
Minimum Order Quantity : 1 Number
Machine Weight : 35 Kilograms (kg)
Application : Precise measurement of microhardness of metals, ceramics, and composites
Control Mode : Computerized with VIDAS 2.0
Specimen Size : Max 100 × 40 mm
Humidity : ≤ 85%
Digital Micro Vickers Hardness Tester (HT-1000D)
Minimum Order Quantity : 1 Number
Machine Weight : 35 Kilograms (kg)
Application : Metal hardness testing, microstructure analysis, coating hardness
Control Mode : Digital/Automatic
Specimen Size : Max height 100 mm, depth 98 mm
Humidity : ≤ 80% RH

 Send Inquiry
 Send Inquiry