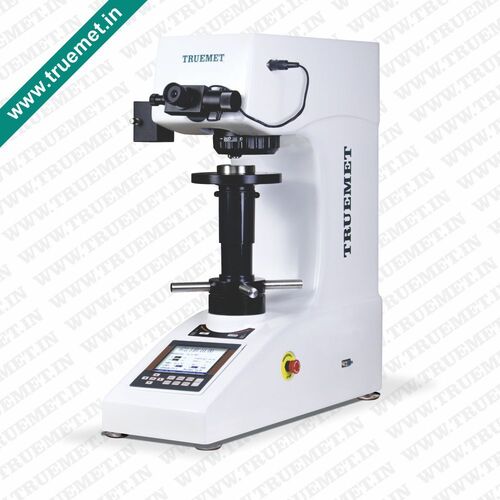
Vickers Hardness Tester (VHT-A Series with Vidas 2.0)
Vickers Hardness Tester (VHT-A Series with Vidas 2.0) Specification
- Dimension (L*W*H)
- 585X200X630 Millimeter (mm)
- Features
- Automatic turret; rapid calibration; data export; motorized load application
- Automation Grade
- Automatic
- Max Height
- 630 mm
- Interface Type
- USB, LAN, RS-232
- Port Size
- Standard sample holding port (adjustable)
- Gas Pressure
- Ambient (Not required)
- Display Type
- Digital touchscreen (Vidas 2.0)
- Resolution
- 0.1 HV
- Specimen Size
- Min 10 x 10 mm; Max 200 x 200 mm
- Test Range
- HV5 to HV1000
- Mounting Type
- Bench-top
- Number of Specimens
- Single specimen per test (manual or auto cycle)
- Power Supply
- AC220V±5% 50-60Hz
- Operating Voltage
- AC 220V
- Application
- Metallurgical testing, quality control, lab use
- Measuring Range
- 5 - 2500 HV
- Response Time
- <1.5 s
- Frequency
- 50-60 Hz
- Hardness
- Vickers scale
- Equipment Type
- Vickers Hardness Tester
- Temperature
- 5-40°C
- Humidity
- ≤85% RH
- Accuracy
- ±2%
- Usage
- Lab, research, industry
- Capacity
- Up to 15 kg
- Machine Weight
- 42 Kilograms (kg)
- Test Speed
- Programmable (Standard: 0.1-3 mm/s)
- Test Width
- 200 mm
- Test Stroke
- 50 mm
- Control Mode
- Automatic with Vidas 2.0 software
Vickers Hardness Tester (VHT-A Series with Vidas 2.0) Trade Information
- Minimum Order Quantity
- 1 Number
- Payment Terms
- Cheque, Telegraphic Transfer (T/T)
- Supply Ability
- 1 Number Per Day
- Delivery Time
- 1 Week
- Main Domestic Market
- All India
About Vickers Hardness Tester (VHT-A Series with Vidas 2.0)
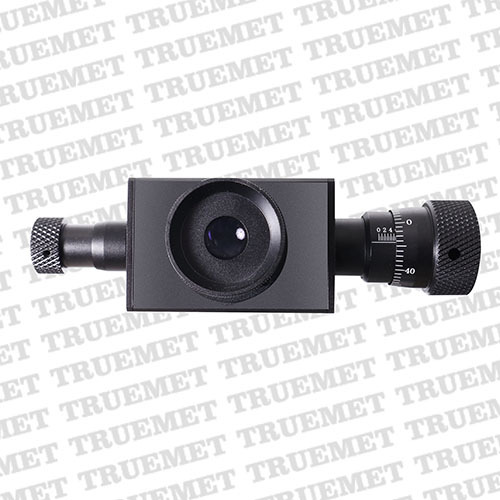
FeaturesMANUAL EYEPIECE :Equipped with 10x Manual Eyepiece to measure the length of diagonal. The hardness value can be displayed directly on LCD screen by entering the indentation diagonal length.
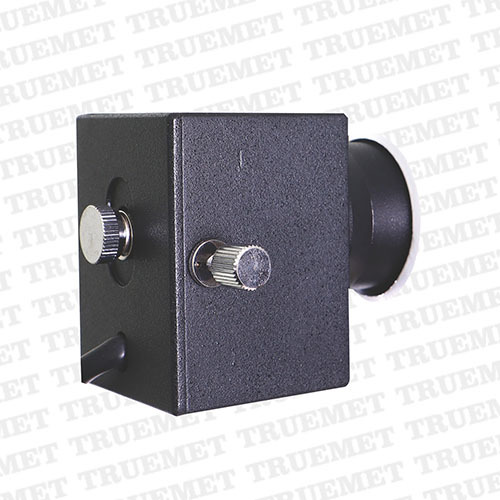
CAMERA PORT :Machine equipped with dual optical channel, one optical channel for 10X eyepiece and another optical channel is for camera by which machine can be upgraded into computerized model. Both optical channel works simultaneously.
ILLUMINATION SYSTEM :Halogen illumination unit gives very clear images and can be also used as a simple microscope. Halogen illumination unit enter stand by mode after a certain period of inactivity which gives it a long service life and low power consumption.
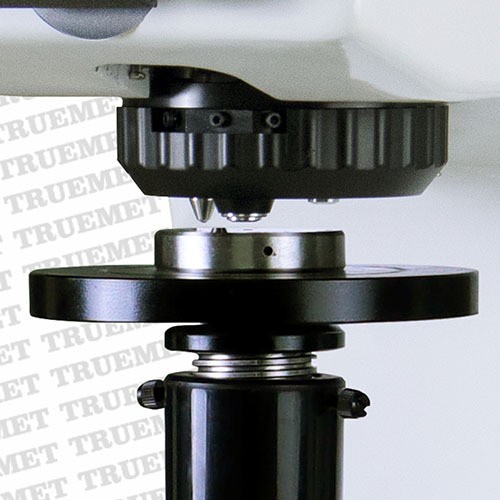
AUTO TURRET MECHANISM :Equipped with auto turret mechanism. Auto turret perform a series of operation and measuring lens automatically comes back to central position after making indentation. The position of the indenter and the objective lens can be automatically switched using keypad.
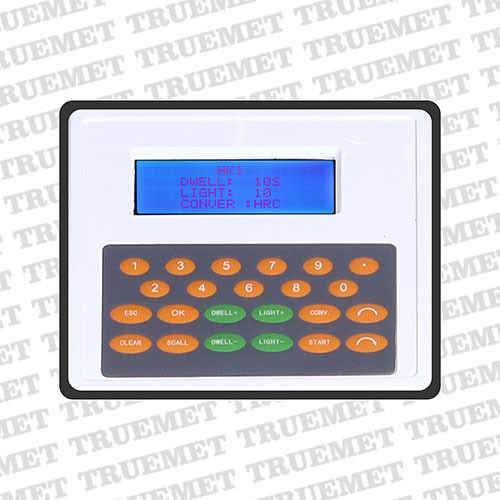
LCD SCREEN :80X25mm LCD Screen can visually display the hardness value, conversion hardness, test force and dwell time.
TEST FORCE :Wide range of test force can be selected with external force selection knob. The test force is automatically displayed on the 80X25mm LCD Screen.
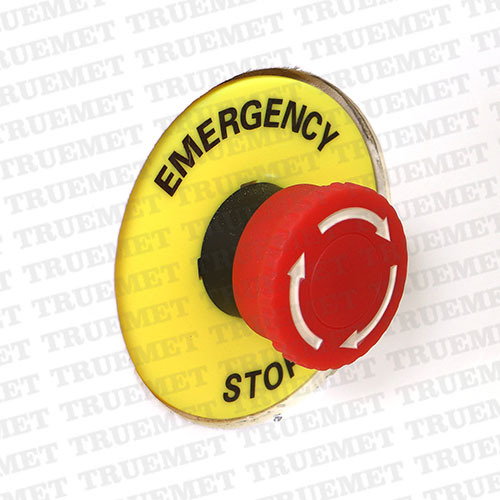
EMERGENCY SWITCH :Equipped with emergency stop switch.
High-Precision Hardness Testing
The VHT-A Series ensures highly reliable measurements with a programmable test speed (0.13 mm/s), rapid calibration, and high-definition optics. Its motorized load application and diamond pyramid indenter deliver consistent results across a wide hardness range (52500 HV), making it suitable for critical assessments in metallurgical laboratories and industrial quality control.
Advanced Imaging and Software Integration
Equipped with a high-resolution digital camera and dual objective lenses (10x & 40x), the Vickers Hardness Tester delivers clear visualization of indentations. Vidas 2.0 software enables auto or manual measurement, comprehensive analysis, report generation, and hassle-free data export via USB, LAN, or RS-232 interfaces, streamlining laboratory workflow.
FAQs of Vickers Hardness Tester (VHT-A Series with Vidas 2.0):
Q: How does the Vickers Hardness Tester (VHT-A Series) measure indentation hardness?
A: This tester utilizes a diamond pyramid indenter to perform Vickers indentation. Measurement of the indentation can be done automatically or manually using the Vidas 2.0 software and high-resolution camera system, ensuring precise hardness results on a digital touchscreen display.Q: What benefits does the adjustable LED illumination provide during testing?
A: The adjustable LED illumination enables crisp, well-lit views of the specimen surface, allowing users to accurately locate and evaluate indentations. This feature enhances measurement precision, especially for challenging or reflective samples.Q: When should I use auto versus manual calibration options on the VHT-A Series?
A: Automatic calibration streamlines routine use and ensures consistency, ideal for high-throughput environments. Manual calibration is available for customization or verification, useful when working with non-standard samples or following specialized protocols.Q: Where can the Vickers Hardness Tester be used and what is its primary application?
A: Designed for laboratory, research, and industrial settings, this equipment specializes in metallurgical testing and quality control. Its robust construction and broad specimen compatibility make it suitable for dealer, exporter, manufacturer, retailer, supplier, and wholesaler environments across India.Q: What is the process for exporting test results from the VHT-A Series?
A: After analysis and report generation through Vidas 2.0 software, users can export results easily to external devices using built-in USB, LAN, or RS-232 ports, enabling secure transfer and archiving of data for audits or sharing with colleagues.Q: How is specimen size and capacity handled in this hardness tester?
A: The tester accommodates single specimens ranging from 10 x 10 mm to 200 x 200 mm and supports weights up to 15 kg, making it versatile for various sample types in metallurgical and quality-control applications.Q: What are the main usage and control features of the VHT-A Series?
A: The system is fully automatic with programmable test speeds, rapid calibration, and an automatic turret, managed through the intuitive Vidas 2.0 touchscreen interface. This ensures ease of use, repeatability, and fast operation for consistent hardness testing.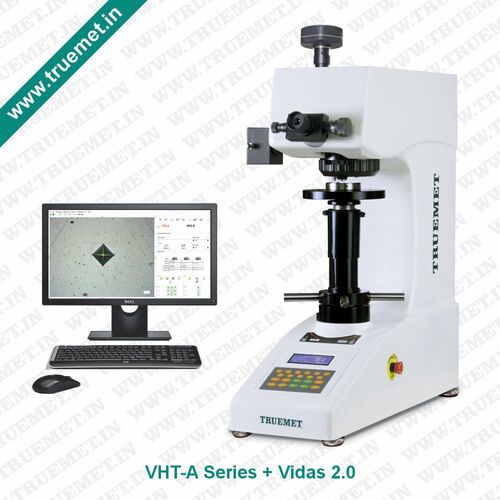
More Products in Vicker Hardness Tester Category
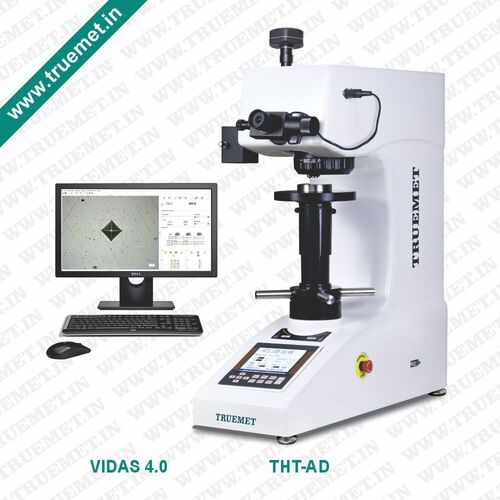
Computer Controlled Load Cell Based Digital Vickers Hardness Tester (THT-AD SERIES with VIDAS 4.0)
Minimum Order Quantity : 1 Millimeter
Machine Weight : 42 Kilograms (kg)
Power Supply : AC220V±5% 5060Hz
Dimension (L*W*H) : 585X200X630 Millimeter (mm)
Test Range : 5g ~ 2kg (Load Cell based)
Temperature : 10°C ~ 35°C
Load Cell Based Digital Vickers Hardness Tester (THT-D Series)
Minimum Order Quantity : 1 Number
Machine Weight : 42 Kilograms (kg)
Power Supply : AC220V±5% 5060Hz
Dimension (L*W*H) : 585X200X630 mm Millimeter (mm)
Test Range : 1HV ~ 3000HV
Temperature : 10°C ~ 35°C
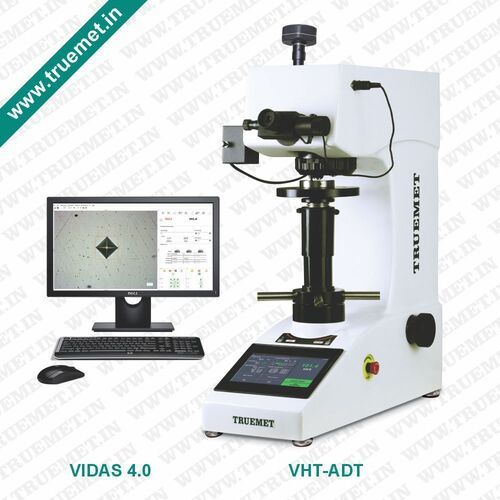
Computerized Digital Touch Screen Vickers Hardness Tester (VHT-ADT Series with VIDAS 4.0)
Minimum Order Quantity : 1 Number
Machine Weight : 42 Kilograms (kg)
Power Supply : AC220V±5% 5060Hz
Dimension (L*W*H) : 585X200X630 Millimeter (mm)
Test Range : 5 gf to 3000 gf (Vickers Indentation)
Temperature : 10°C 35°C Operating Range
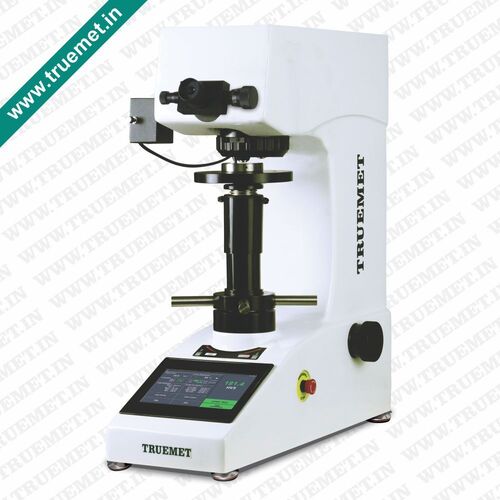
Touch Screen Vickers Hardness Tester (VHT-AT Series)
Minimum Order Quantity : 1 Number
Machine Weight : 42 Kilograms (kg)
Power Supply : AC220V±5% 5060Hz
Dimension (L*W*H) : 585X200X630 Millimeter (mm)
Test Range : 14500 HV
Temperature : 10°C ~ 30°C

 Send Inquiry
 Send Inquiry